The Scan Screen Settings allow a practitioner to choose if a client can access/view scan results directly after the scan within their client portal and what screens a practitioner wants to show to the client.
+++ On November 16th 2021 an update to the Scan Screen Settings has been released +++
Functionality before November 16th 2021:
- As a practitioner you can choose to give your clients access to view their scan results immediately (currently done in the “Scans” section with a toggle) or to manually enable them (also done in the “Scan” section or on the client record).
- As a practitioner you can also choose which scan screens you want to show or not to show your clients. This can be set globally (in the Scan Screen Settings) for all new created clients, but also can be overridden on an individual client basis (on the client record).

Functionality after November 16th 2021:
- Moving forward a practitioner can allow a client to see a different set of screens before and after review (before and after they make the scan available after review). That means a client can see a set of screens chosen by the practitioner directly after scanning and a different set of screens once the practitioner has reviewed the scan.
- A practitioner is also going to be able to toggle on / off sub screens moving forward
- Additionally the recommendation screen can be turned on/off
- Settings for screens that are not being updated in the future and only available for existing practitioners are moved into a separate “Legacy Screens” section.
How it works:
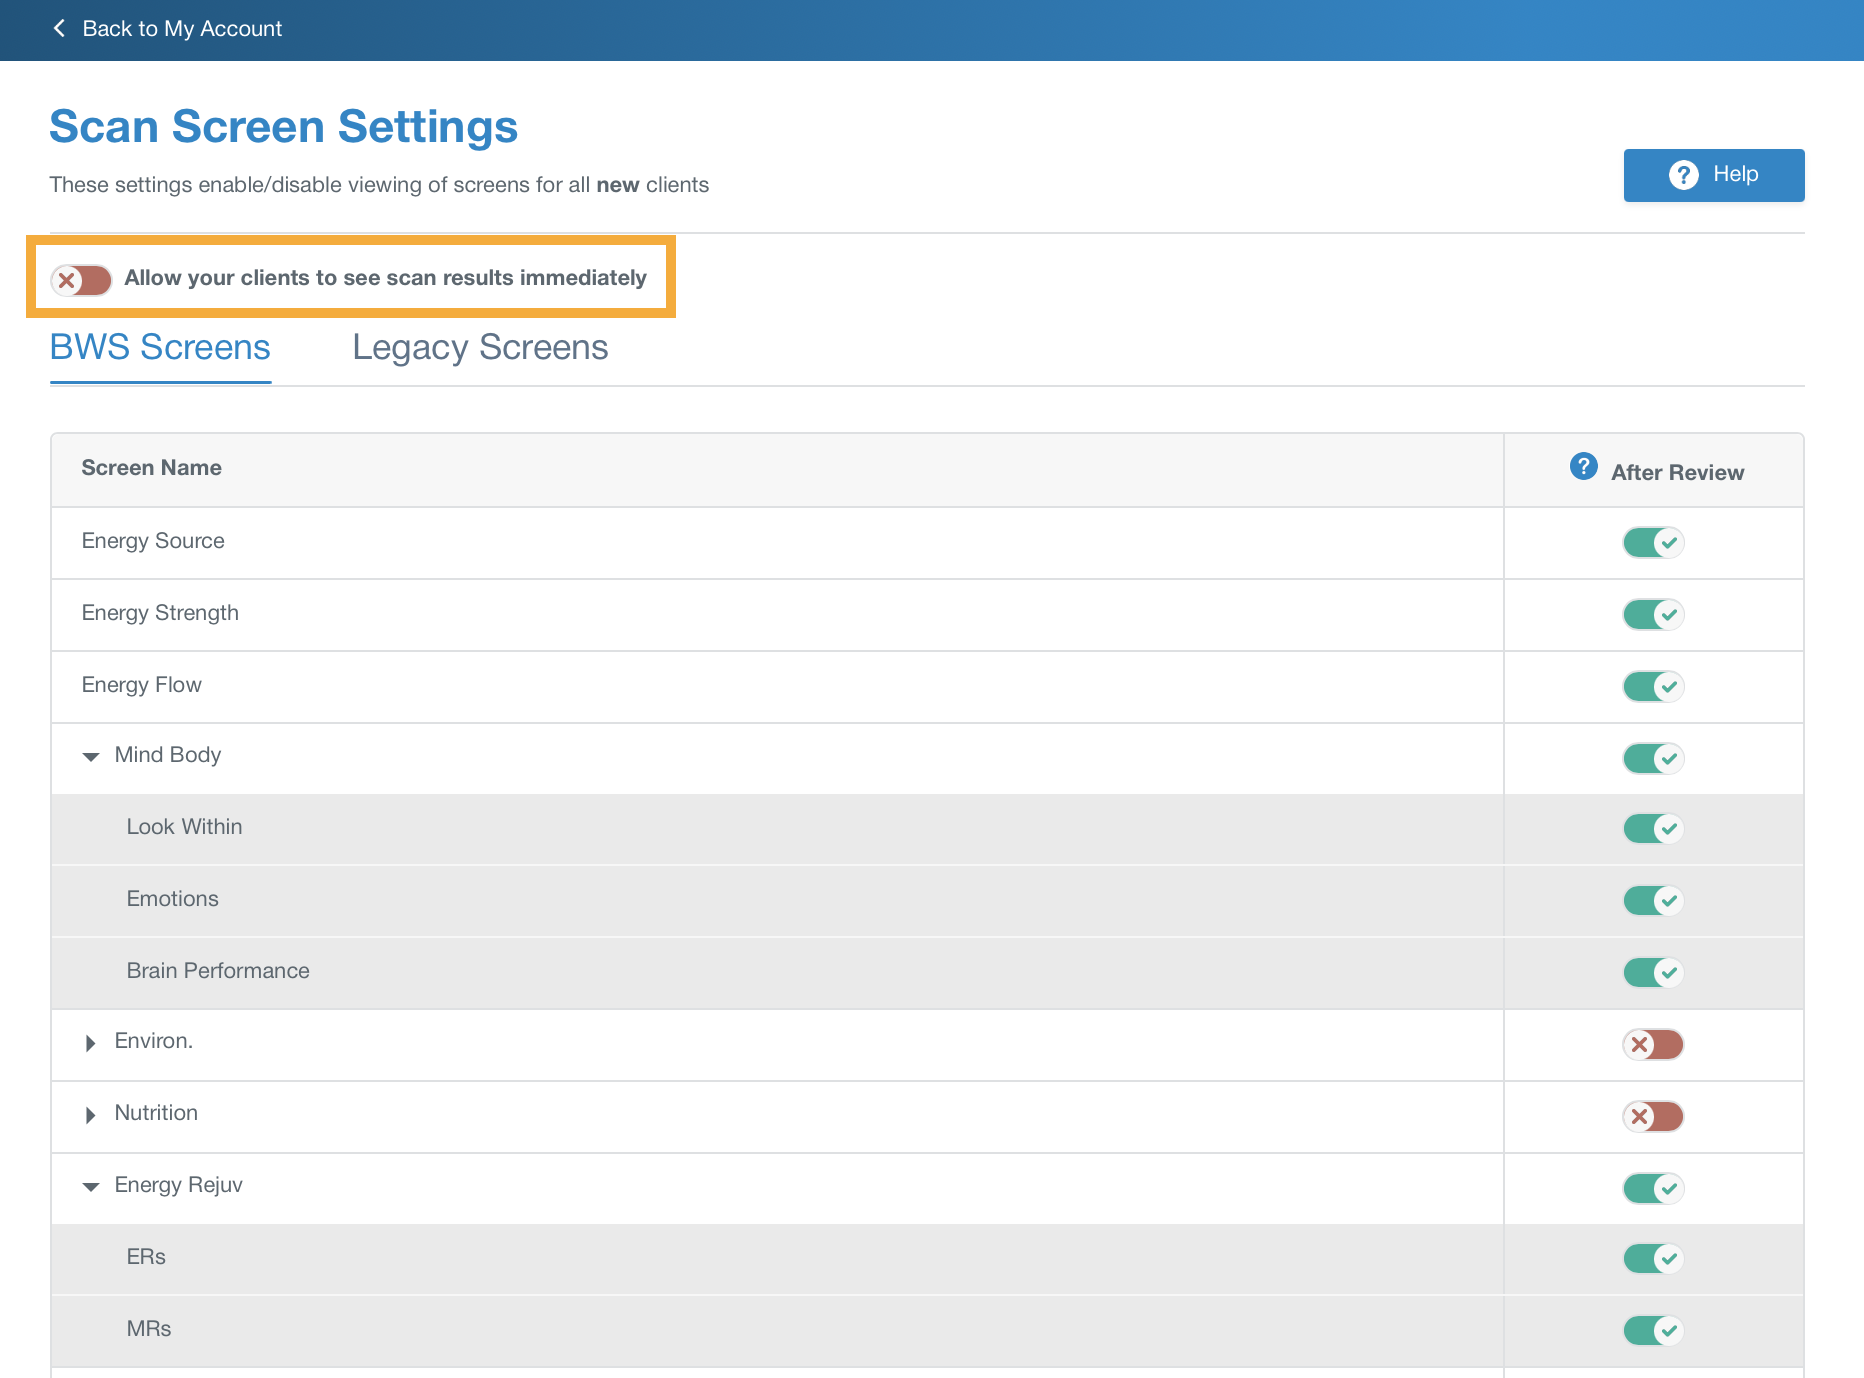
- Allow / not allow your clients globally to see scan results before you manually allow them to. This means they can access the selected screens right after they have performed the scan.The global setting will be applied automatically to new clients:
- You can access the toggle right at the top of the scan screen settings page.

-
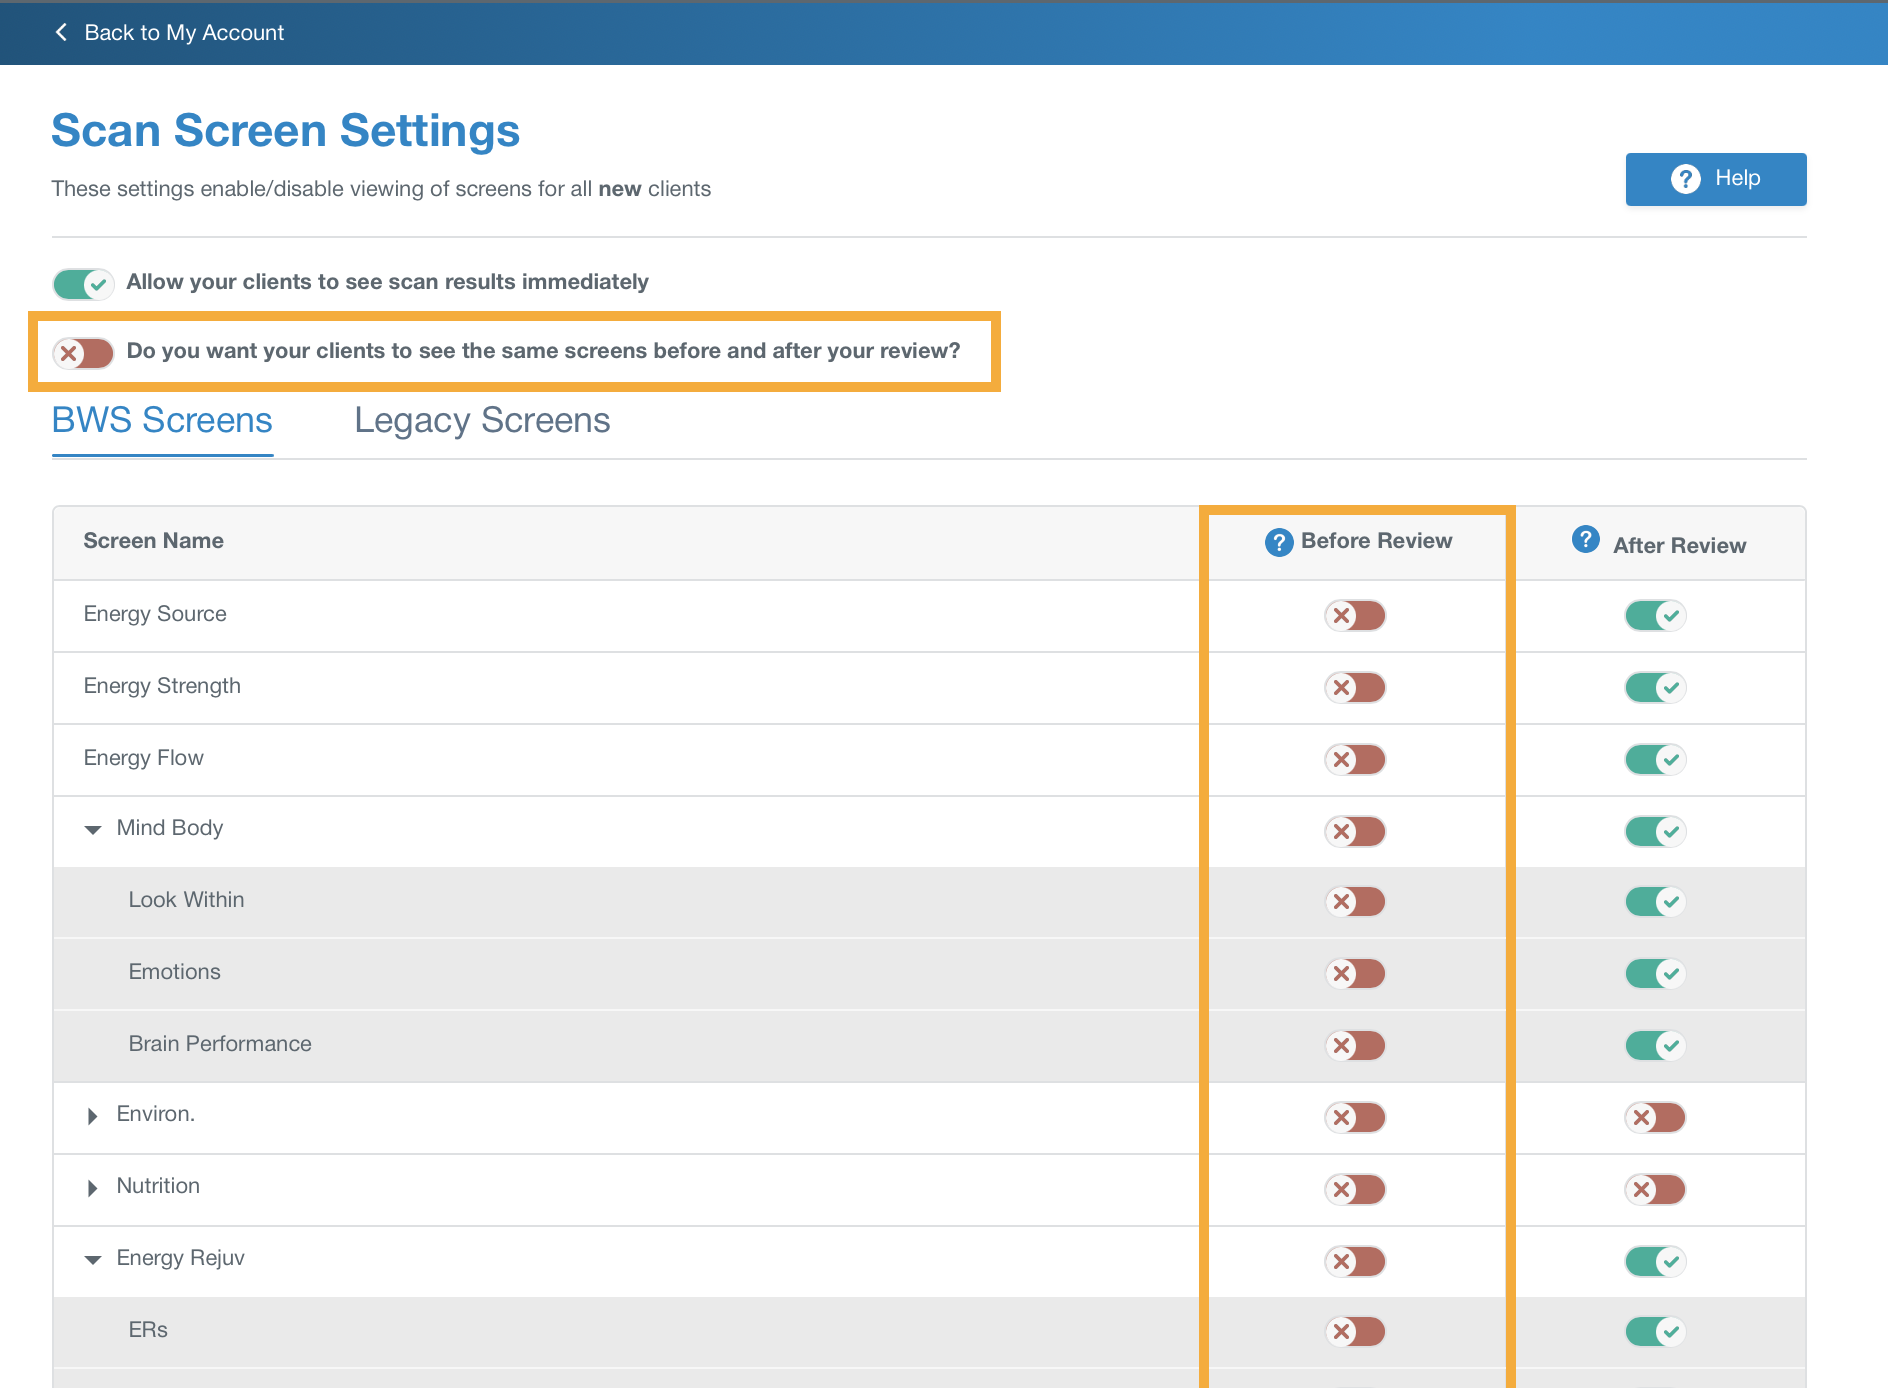
- Once you switch the toggle on, another column will appear. In the left hand column you can choose which screens a client can access right after the scan without your interaction. In the right hand column, you choose which screens a client can access, after you complete the review and manually unlock the “After Review” view.

-
- You can simply sync the settings of the “Before Review” column with the “After Review” column by toggling on the second toggle at the top of the page. The “Before Review” column will then show exactly the same settings as the “After Review” column.
![]()
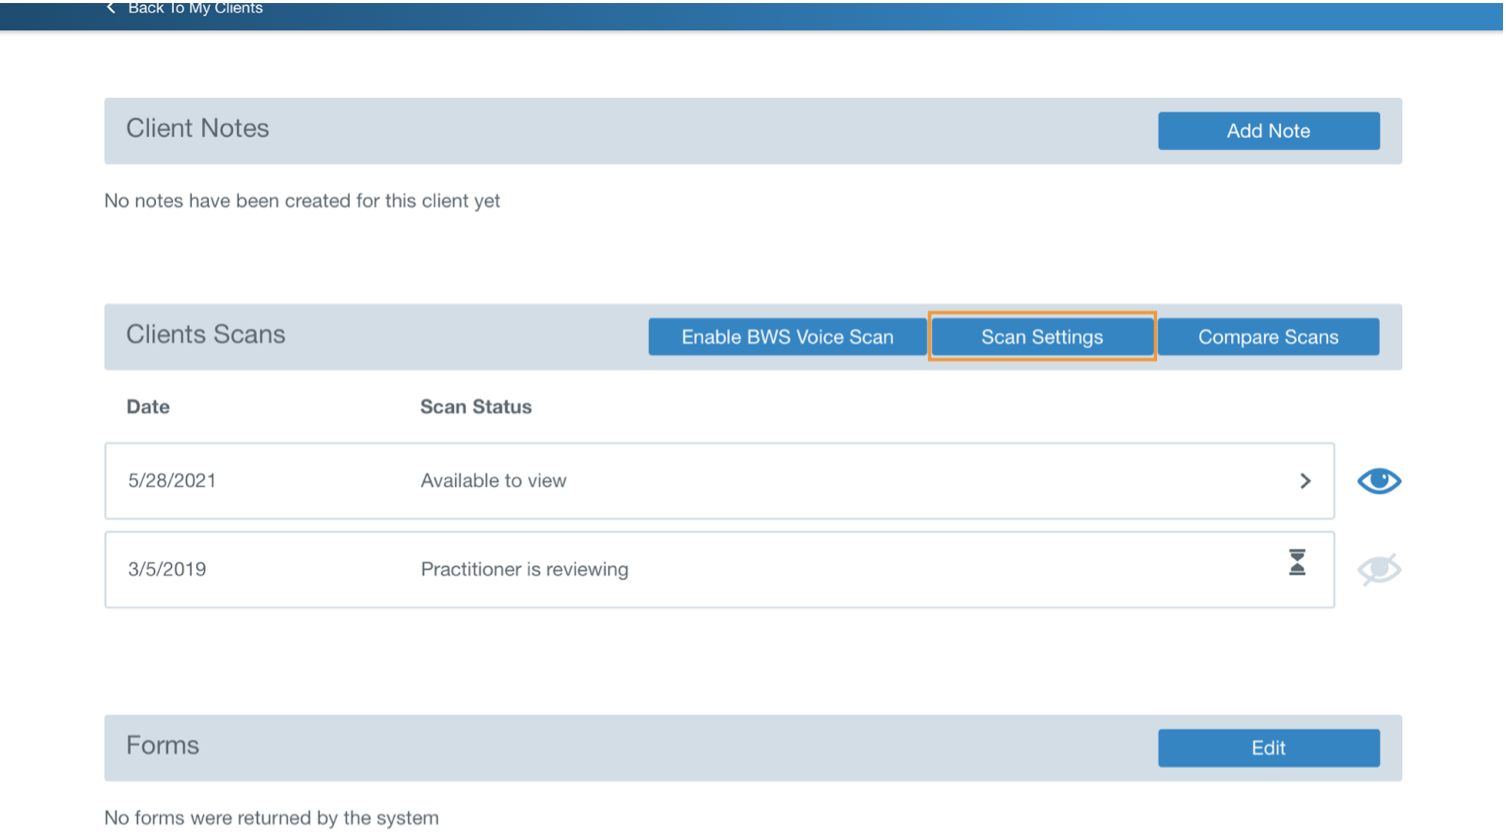
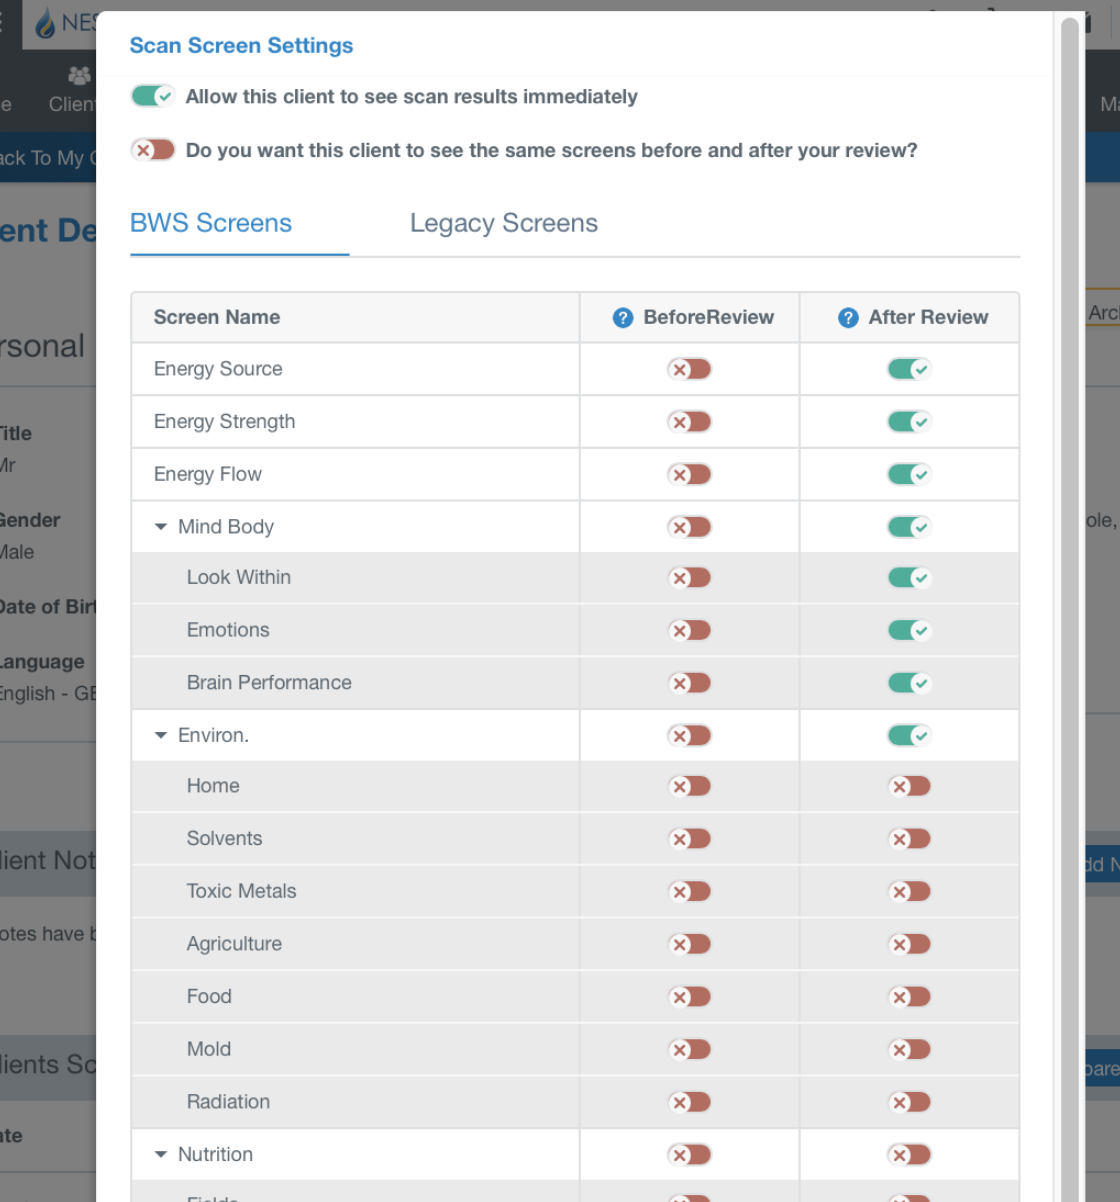
- As before you can override the global settings on an individual client basis. You can access the individual scan screen settings of a client under “Clients” > Open the relevant client record and scroll down to the “Client Scans” section > Click “Scan Settings”. An interface with the same settings as you can find for the global settings is opening up. You can now choose the settings for this individual client.


Comments
0 comments
Article is closed for comments.